If you are printing for the first time with Life Tributes™ or if you have recently purchased a new printer, it is highly recommended that you align your printer in order to ensure that all of your printed material will be lined up correctly.
To align your printer, please follow these steps:
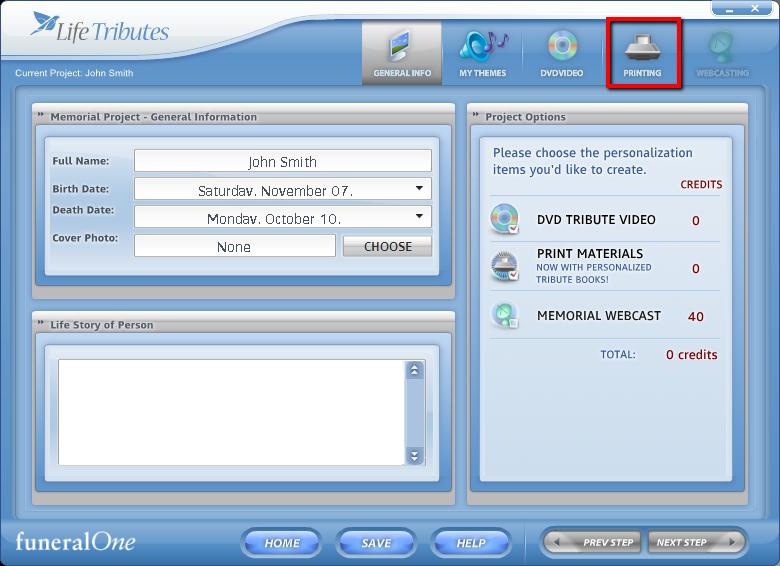
01. On Life Tributes™ main screen go to “Printing”.
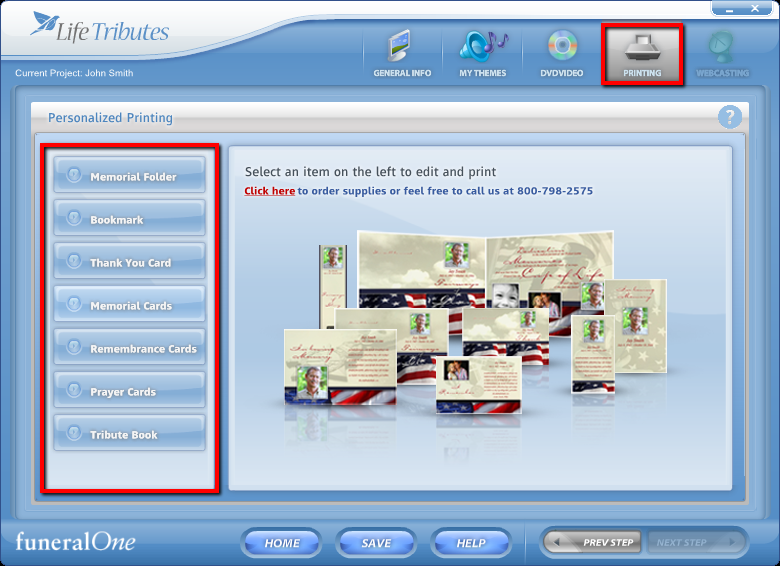
02. Select any of the items on the menu to the left.
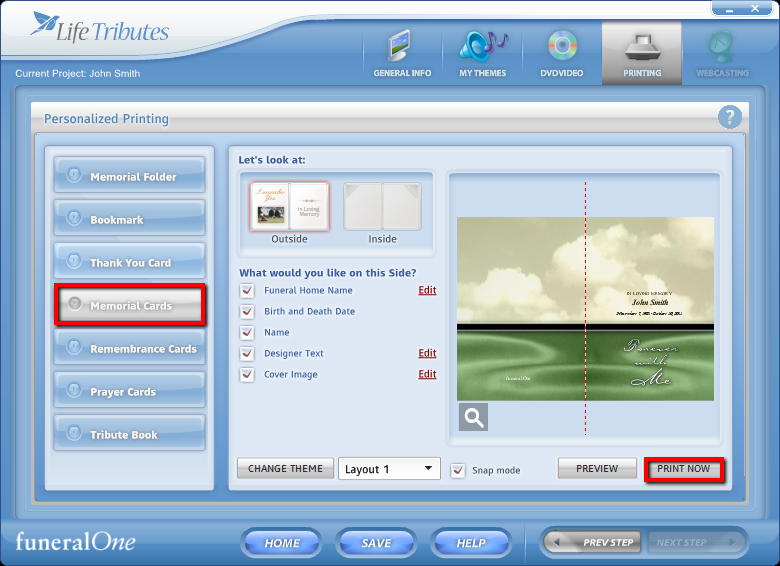
03. Select “PRINT NOW” on any item in Life Tributes™, the printing wizard will come up.
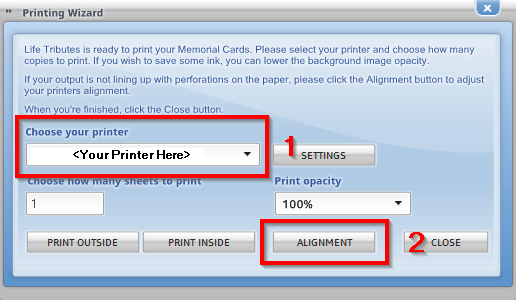
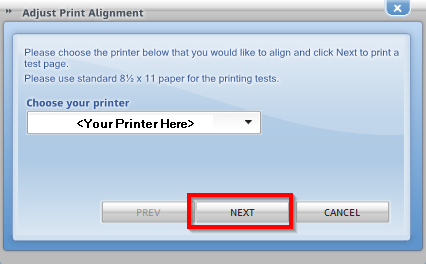
04. Choose the correct printer from the drop down list and then select the “Alignment” button.
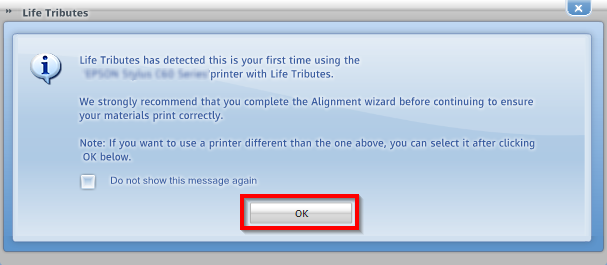
05. If it is the first time you are using this printer you will see a dialog box telling you that “Life Tributes™ has detected this is your first time using printer with Life Tributes™”, click OK to proceed.
06. Make sure the correct printer is selected and click “Next”, this will print an alignment sheet on your printer.
07. Keep the “Adjust Print Alignment” window open. You will need the alignment sheet from your printer at this point.
08. Take the alignment sheet and fold it in half, ignoring the printed grid lines, the corners should be exact.
09. Fold the paper in half the opposite way, again the corners should be exact.
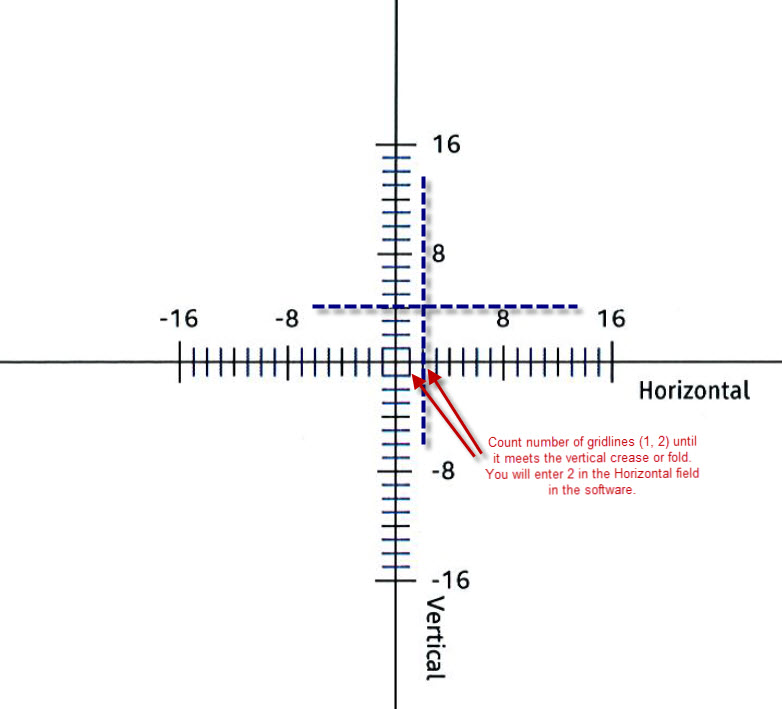
10. Open the paper and focus on the wrinkles you have folded, not on the grid.
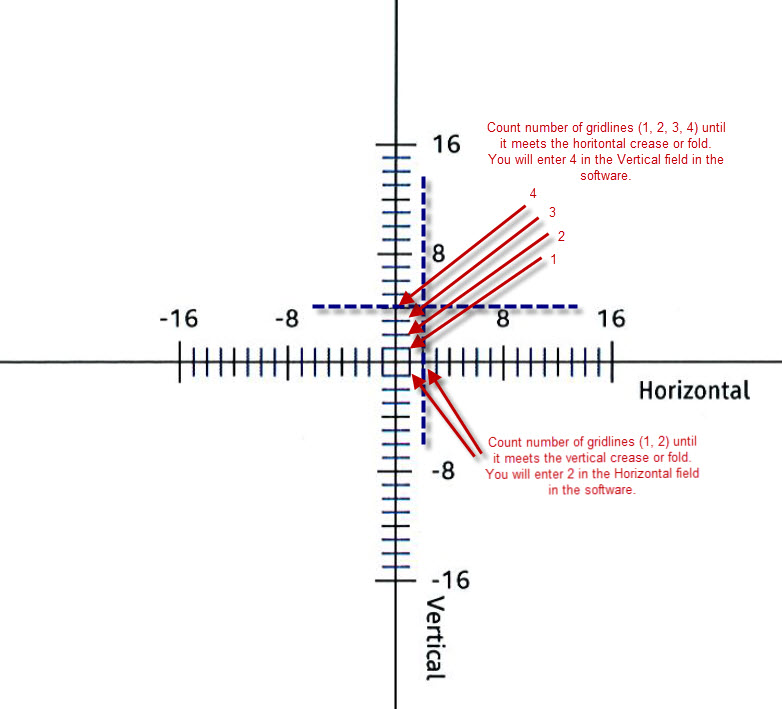
11. Follow your vertical crease until you meet the horizontal printed grid line.
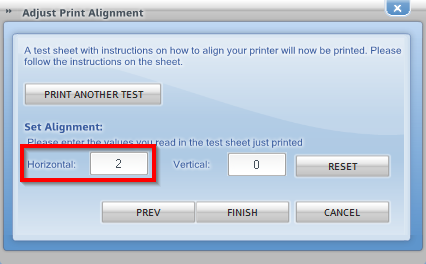
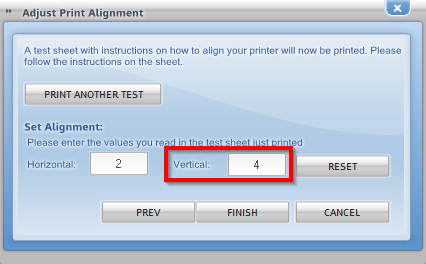
12. Using the outline of the box in the center as number 1, count the number of lines until you reach your vertical crease, if the crease is to the left of the vertical gridline it will be a negative number, if it is to the right of the vertical gridline then it will be a positive number. Enter this number in the “HORIZONTAL” field in the “Adjust Print Alignment” window. Keep the window open.
13. Follow your horizontal crease until you meet the vertical printed grid line.
14. Using the outline of the box in the center as number 1, count the number of lines until you reach your horizontal crease, if the crease is to below the vertical gridline it will be a negative number, if it is above the vertical gridline then it will be a positive number. Enter this number in the “VERTICAL” field in the “Adjust Print Alignment” window.
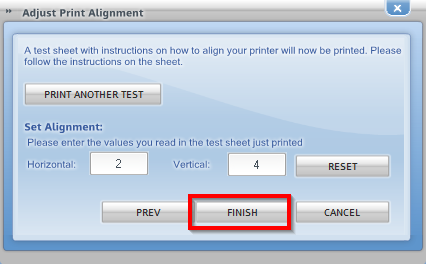
15. Click “Finish” Not “Reset” or the process will need to be started all over.
It is much recommended to print another alignment sheet once these steps have been performed to make sure the creases fall now on the gridlines, if that’s not the case repeat the above steps with the most recently printed alignment sheet.
Note: If you are printing DVD print material for the first time you can follow steps 4 to 15 to align your printer.