In Life Tributes™ you have two options to add motion to your tribute; one is “Individual Motion” which means that you add motion to each image individually, or “Smart Motion” which allows you to add motion to all your images at the same time.
Follow these step by step guides to execute each procedure successfully.
Individual Motion:
01. Once you have added your image to the Movie Timeline, (either by using the “Insert Image” or “Scan Image” buttons), select the image on the timeline that you would like to add motion to. (This will create a red box around the image)
02. Next, click the “Add Motion” button under the “Image Options” section.
03. Select the positions where you would like to “Start” and “End” the image’s motion by clicking and dragging the box corners in any direction. You can also move the box as a whole in any direction you wish. You will also be able to preview both, the start and stop positions, on the right pane of the screen.
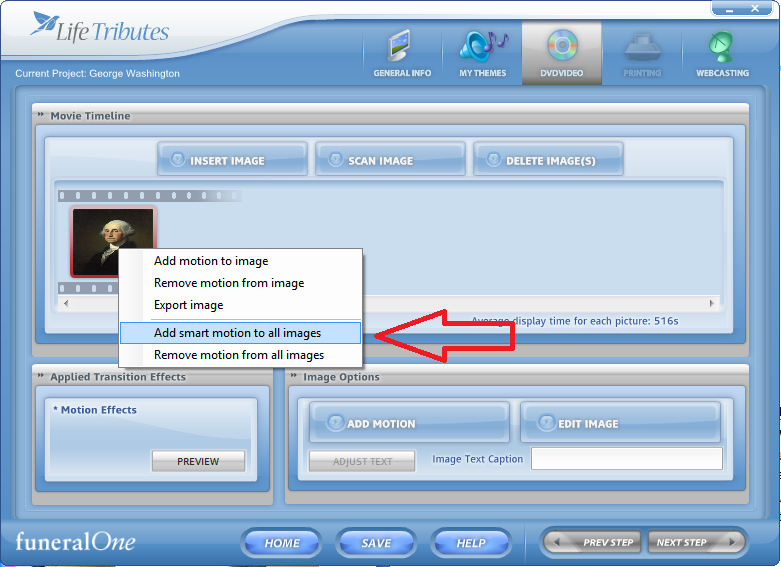
Smart Motion:
04. Once you have added your image to the Movie Timeline, (either by using the “Insert Image” or “Scan Image” buttons), right-click any image on the timeline and select the “Add Smart Motion to all Images” option. This will automatically add motion to all images using our Smart Technology.