There are times where you may want to allow a family member to help moderate all the condolences, photos, videos, and other additions to their loved one's tribute. This set of instructions will show you how to set it up.
Step 1
Log into the back end of your website. If you're not sure how to do that, give us a call at (800) 798-2575 and choose option 4 for technical support, we'll be more than happy to help.
Step 2
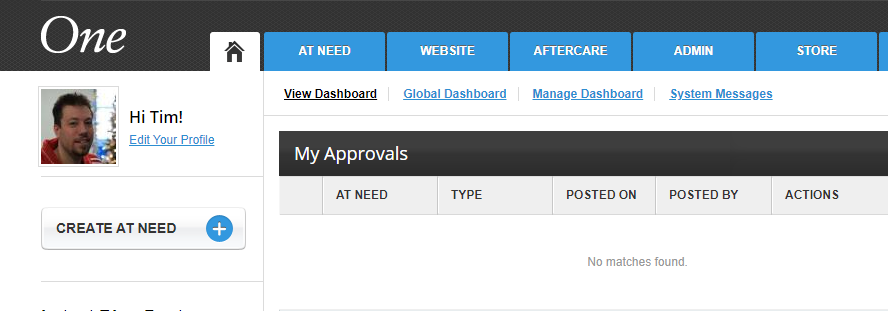
Click create at-need located on the left sidebar
Step 3
Fill in your info for name, dates, serving location, obituary text, services, and cemetery as you would normally.
Step 4
Fill in Family Address if you like, this is optional and will only affect that people can select to send gifts to the family's address instead of to the funeral home if they buy from the Sympathy Store.
Step 5
Add any photos or videos you would like under the Photos & Videos section
Step 6
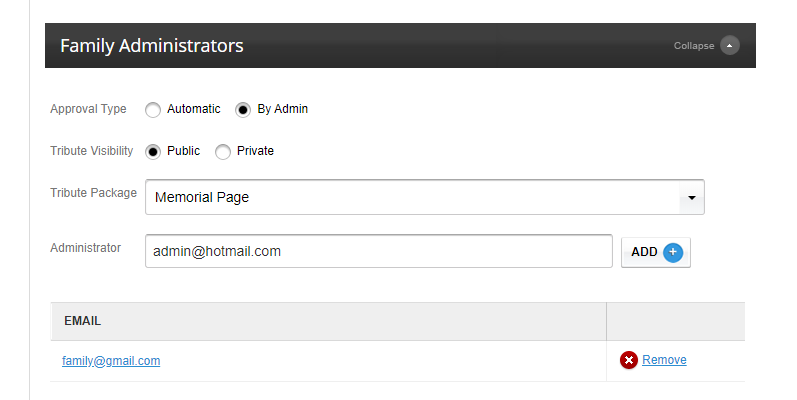
Under Family Administrators, pick "By Admin" under approval type. Pick "Public" or "Private" under Tribute Visibility (learn more about private tributes). Tribute Package should be "Memorial Page." In the Administrator field, please type an email address for the family member you would like to help administrate the comments with you. You may add as many as you like here. Each one will receive an email and instructions on how to log in on the front end of the website and administrate condolences.
Step 7
Under Life Tributes Software, add any tribute video, webcast, or related.
Step 8
Click submit. That's it! Your obituary has been created and the family can now administrate any posts made by the public in addition to the funeral director.